Saturday 12 November 2016

Art Sale - Pay what you decide.


The Church on the point 120 by 120 cm acrylic on canvas
I'm hoarding art works!
They are no good to anyone stuck in the spare room.

The church on the point - detail
I need to clear some space and raise some funds for my next art project (which I cant wait to share with you!!!!).

The House on the Hill, 50 by 100 cm. Acrylic and mixed media on canvas
So I'm selling.
I have a range of work - on canvas and paper, from large to small. All I ask is that you pay what you think it's worth, plus the postage and packing. I'll be sharing works for sale over the next couple of weeks. These are the first three.

The house on the Hill  -  detail
Depending where you live will affect the cost (within the UK most postage will be under £20). I'm willing to post world wide, but please be aware my work sometimes contains, grass, sand and other natural materials which can be restricted for import.

Night Sky. 50 by 100 cm, Acrylic on Canvas

Message me if you are interested or find my event on facebook.


Saturday 5 November 2016

60's Shift Dress AKA Awesome Autumn Dress


Have you ever made a dress that epitomised the seasons?
I think this dress is my most amazing autumn dress. But it's also rather 60's in style.


Last week it was the school half term here. I took time to have a break and did a bit of sewing too. After making my Vivienne Westwood dress I had some fabric left. enough to make a skirt for myself and my daughter, but more on that another time. I also decided to make this dress. It's not the first time I'd used this pattern from Burdastyle 09/2015. I made my handbag dress from the same pattern last year.

I really wanted a long sleeve version and was considering drafting sleeve, when a closer look at the magazine revealed that there was a long sleeve option for this dress, but the sleeves were narrow and I wanted something that fit the 60's vibe a bit more.


The sleeve was a two piece one with a seam running from the shoulder to the hem. I decided that Id like to make a one piece sleeve, similar to a bishop sleeve. The bicep line was pretty narrow, so I spread the sleeve to keep the armscye line the same, but add more width and reduce the sleeve head slightly I lengthened the sleeve slightly and widened the hep to allow the hem to be gathered into a bias band at the wrist. The sleeves are very well drafted for this pattern and went in beautifully, first time, with no trouble at all.

I added the funnel neck collar, and like how it sticks up. It's actually very soft and comfy to wear.


I made the dress in a very very fine cotton corduroy. Its so fine that it only feels slightly textured. The fabric was bought from a market in Hengyang (Hunan province), when I was there in the summer and cost about £8. I bought the zip there too that cost about 40p. It's an invisible zip, the kind with the nylon tape. I prefer the cotton tape ones as the stretch less. but as I hand basted the zip in place first there was no issue with it.


I think I'm going to get a lot of wear from this dress over the cooler months.


Have you every used Lightroom for your photos? I used it for these ones and tried to achieve a more vintage effect with it. It was my first attempt at using the programme and I've got a lot to learn! The photos were over exposed to start with and I should have worked with the raw files to try to correct this a bit, but as they are so big I ended up deleting them to make space for other things. What tips do you have for working with Lightroom?

Sunday 23 October 2016

Start again: Wrap trousers fail!

I had been looking forward to making these trousers from Burdastyle magazine 11/2013 #120


I'd traced the pattern and made it shorter as it was a tall pattern. I'd hoped to make these up in a neutral fabric that I had, but there wasn't quite enough, so I decided that I'd be better making a muslin anyway and cut it out of some light weight furnishing fabric. I'm so glad I didn't make these without the muslin as the fit was awful.


1. Despie lopping about 4 inches off the length the legs were far too long and too tight!

2. There was way too much ease in the hip area and they looked ridiculous. The crotch was far too low and the waist too high.

For a minute I actually thought about altering the pattern, but so many changes would be needed I decided that I might be better off drafting my own. Although, I might try a different burda pattern. This one from the current issue. (The trouser part of the jumpsuit)


or this one from 11/2011.


Has anyone made either and can suggest any solutions?

Sunday 16 October 2016

It's been a while.


Nearly three months in fact. Life has been very busy and there have been changes in our lives that are taking some getting used to.

I'd like to share a little about what I've been up to over the summer and my latest make. 

When I posted last, I was just about to head out to China to work with international China concern. I went with my friend Maureen and we joined the team in Hong Kong. There were folks from the US, UK and Canada and I was in the privileged position of leading them. 
Maureen getting to grips with chopsticks
The Big Buddha on Lantau Island

Maureen and I spent a few days in HK sight seeing and exploring the bead markets. I tried not to buy much as I didn't have space to bring it back.
The Team
After meeting the team, we headed up to Hengyang to one of International China Conceens projects. And were blessed to spend two weeks working with the children and young people there. Our time there was emotional but we also had opportunity to sample the local food and team meals were a great time to share with one another.

Clay pot rice - Yummy
My husband and I sponsor one of the girls there. To be greeted by cries of 'mama' as I arrived brought tears to my eyes. I long to go back soon and would love to spend longer working with these precious children. I can't share photos here but you can find out more about the work of ICC here

Once I'd returned home I had less than a week until we went on a family holiday to France. It was a great time of relaxation and the weather was fantastic. I particularly enjoyed our trip to Nantes and the Machines de L'ile. A ride on a huge mechanical elephant? Don't mind if I do. 

Once we were home it was all change. My husband has just begun his training to become a Baptist minister. He'll be studying at Durham Uni and also pastoring a church. It's going to involve lots of work and study and will take some getting used to a different routine at home. 

My work has been busy this half term as I led a residential school trip to London at the end of September. It was a great trip and the 45 students who went were brilliant. It's a tiring thing to organise  but we had a fab time. We saw the excellent Matilda at the Cambridge theatre, went in the London eye and spent time at the Tate Modern, portrait gallery and science museum. 
Louise Borgoise at the Tate Modern

It's probably no surprise that I haven't finished many sewing projects. I completed the simplicity blogger challenge about a month too late. I'm still not 100% happy with the results. 
I also started to make a dress from Burdastyle, but didn't like the way it hung on the shoulder so I decided to draft my own version
Bodice from Burdastyle. Shoulder too exposed
My first draft. A little short

Inspired by some of Vivienne Westwood s designs. I worked from my self drafted bodice block and added cap sleeves, a cowl neck, pleats and tucked and a draped skirt. 

The finished dress
 I need to adjust the upper back.

It's taken a few weeks to adjust the pattern and get it made, but even the finished dress needs some adjustments. The back is a smidge too long and a couple of neckline darts are needed to improved the fit. However, despite the minor fitting issues I really like the outcome. The fabric is fab. The back is slightly brushed which means I dont really need a lining. I can wear this with a cardigan, or a long sleeve top underneath. either would be fine.


The next project is to make wrap front trousers from Burdastyle 11/2013. Has anyone made them?

Sunday 31 July 2016

Summer Activity Day 2: Wet Felted Bowls


As I mentioned in my last post I ran 2 days of workshops for children at my school. Its an end of your activity and we had loads of fun. On the first day we did tie dye and I included a tutorial about how to do the tie dye.


On day two we used wet felting to create pod shaped vessels. It's rather involved to explain here.  There are many workshops and courses where you can learn how to do this. I learnt in a workshop with Wendy Stanger at the end of last year and thought it might be something the kids at school would enjoy. They did.


Felt making does require a degree of patience and some of the children were in a hurry to complete their work and the felt could have done with being 'fulled' for a little longer to make sturdier vessels. but they all created at least one strong bowl and the designs were great.


Most of the equipment needed is simple to find and if you can find a good supplier of wool tops they it can be inexpensive. Yorkshire Trading sell packs of felting wool for about £6. I ordered mine from George Weil. Excellent service and they arrived the next day.


Felting happens when woll fibres are placed at right angles to one another in thin even layers and water, soap, heat and friction are applied. the process is simple, but it does require practise to create sturdy pieces.


I first made felt in my art college days when I hand dyed raw fleece. I had to clean it, card it, dye it and felt it. I lost patience and ended up felting my work in the washing machine - which gave some interesting textures. The process used for this work was much easier.


Layers of fibre are placed around a template, wetted with hot water and soaped then turned over to create a design. I used about 4 layers of fibres. Net keeps the fibres in place as you create the design.


Then more soap, hot water and bubble wrap are used to felt the layers together.


The felt is then rolled in a bamboo mat and bubble wrap to "full" the fabric. Hot water aids this and as it felts together the fibres shrink around the template. A hole is cut and then bubble wrap is used to shape and felt the bowl until it's the desired shape.


Basic equipment required:
Soap
Hot soapy water in a spray bottle
Bubble Wrap
Neoprene for templates
Dress net
Bamboo mat (a large sushi mat is ideal)


Saturday 23 July 2016

Summer Activity Day 1: Tie dye tutorial and workshop.


So it's the summer holidays here in the UK. Most schools have now broken up for the summer and parents are seeking activities that will entertain and engage their children without costing the earth.
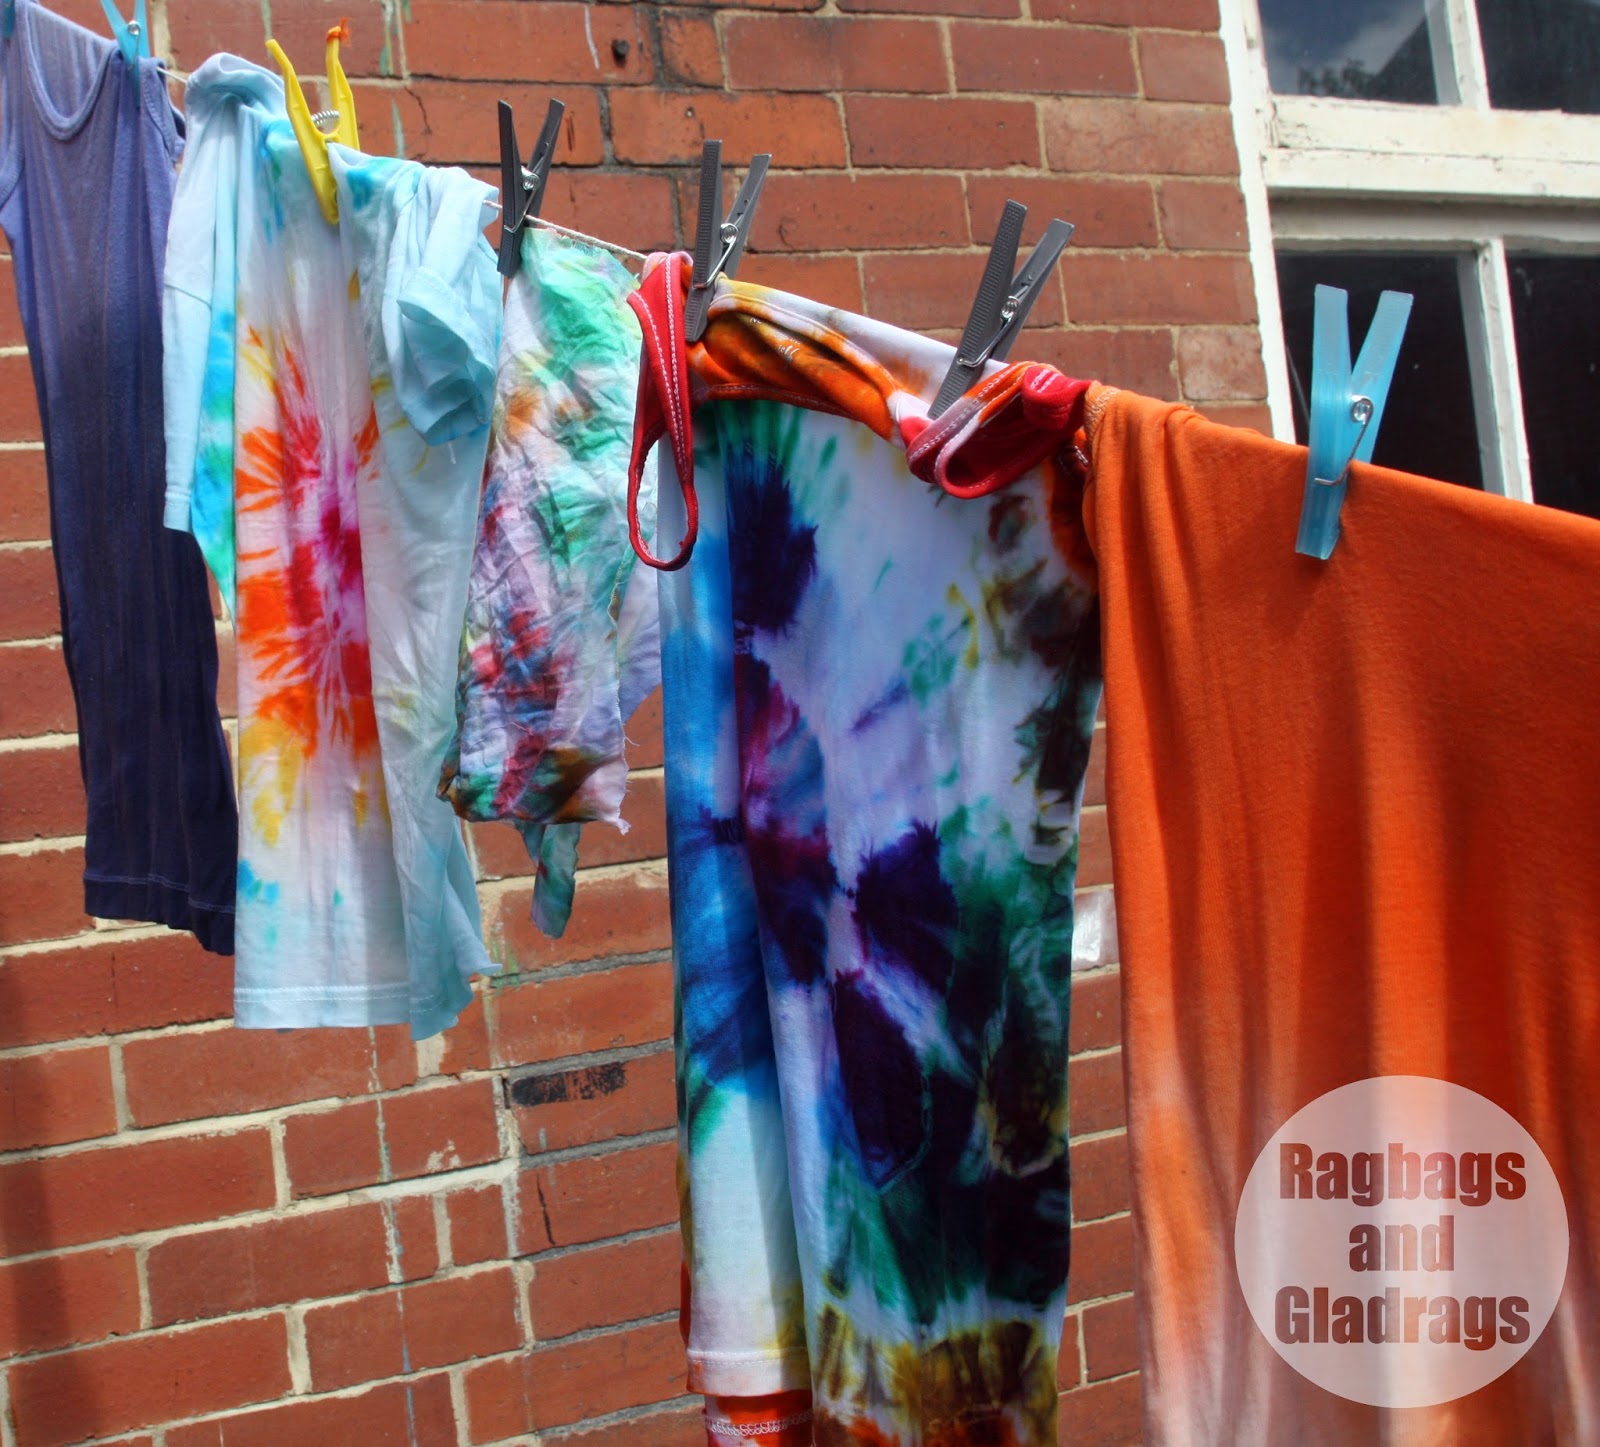
Tie dye is fun messy and yields brilliant results for minimal cost. You might want to try some of the techniques shown here. I've included instructions so you can have a go. It's all about experimenting - so have fun.


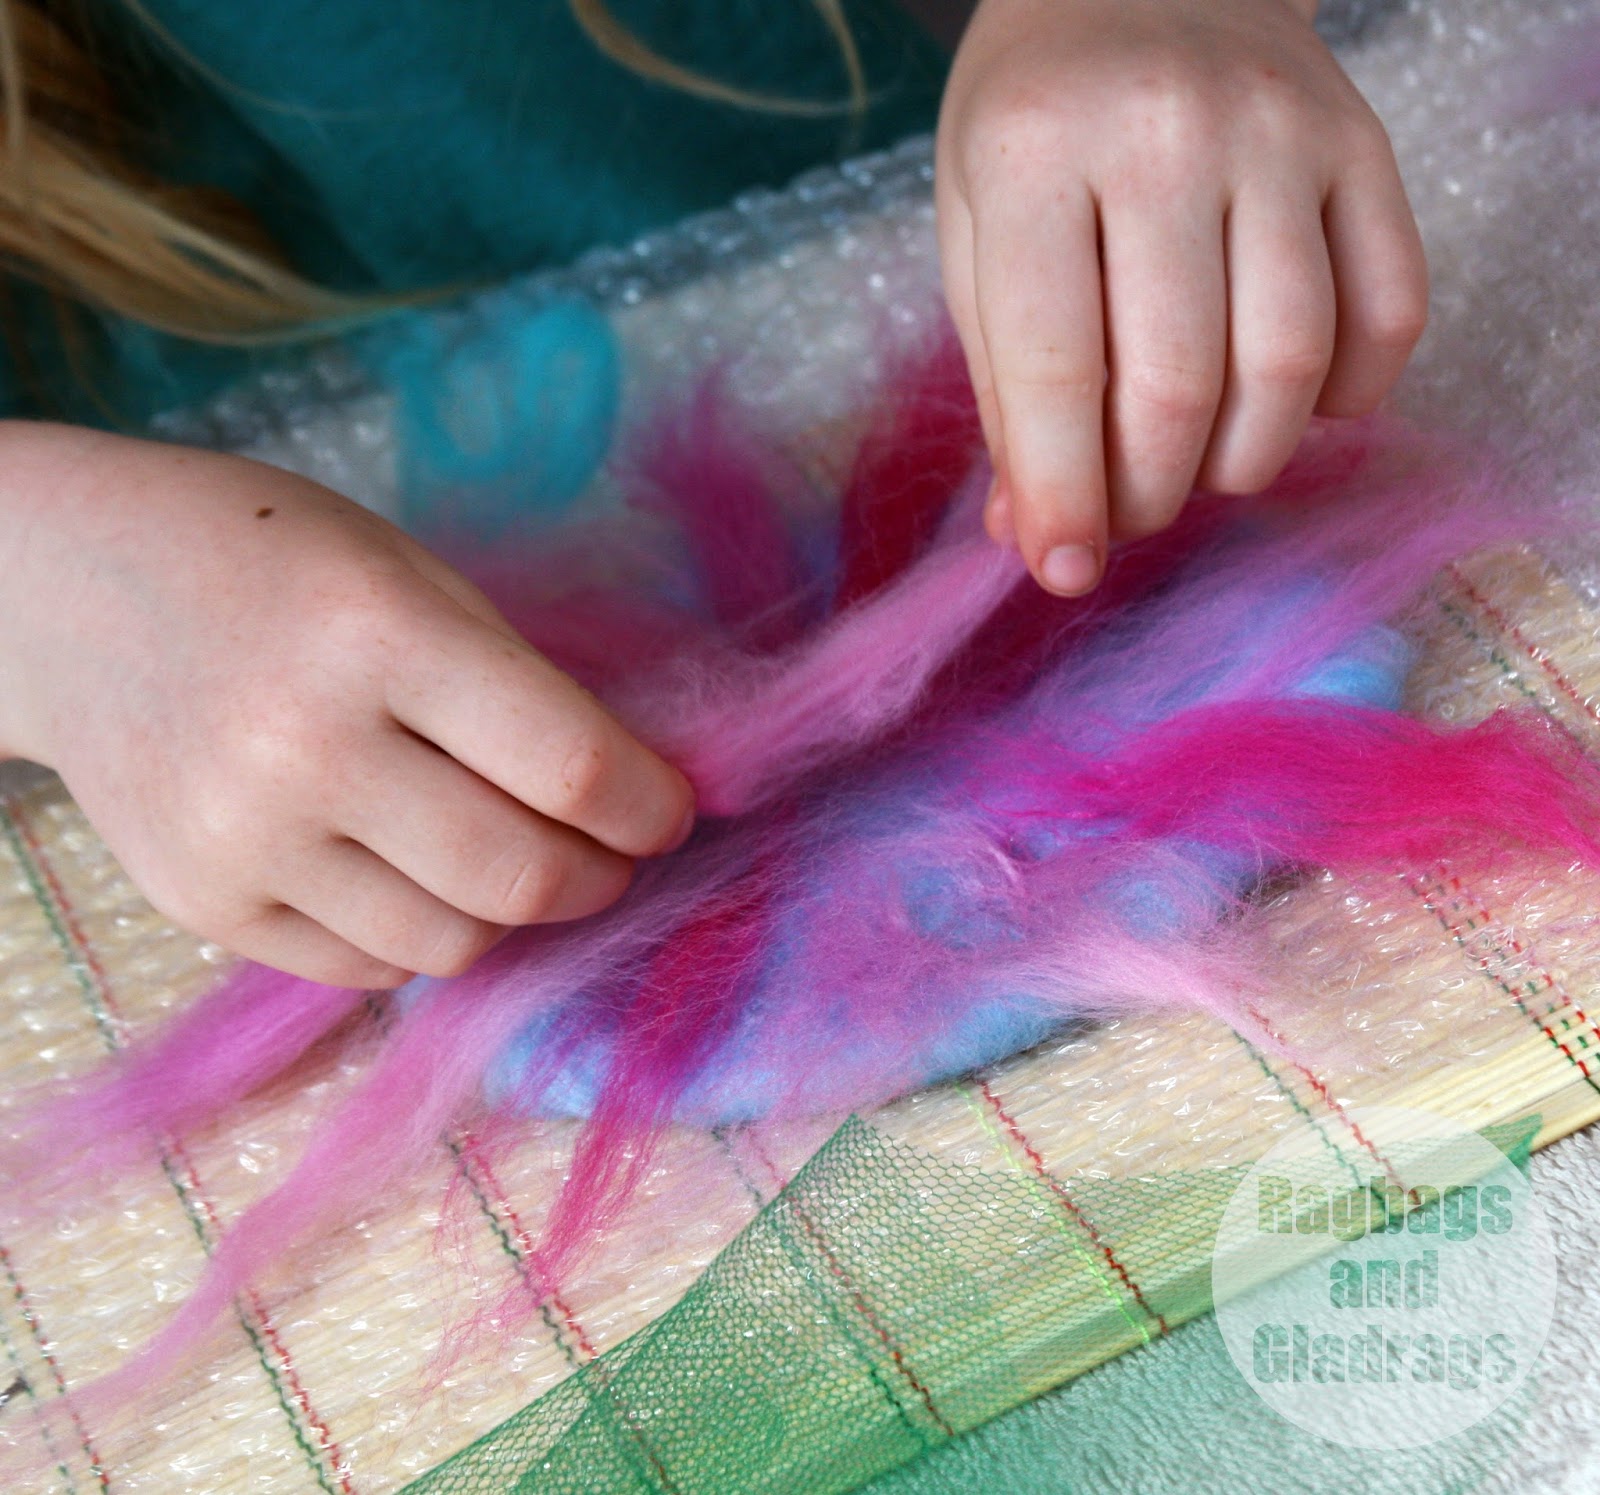
I ran a workshop for 20 Children at my school as part of our activity days towards the end of term. Photos are from this workshop. As well as tie dye we also experimented with batik and fabric painting.

There are primarily two methods for tie dye. Traditional dip dye and space or galaxy dying.

Traditional method:


You will need:
Dye: such as Rit or Dylon - at least one colour.
Salt/ dye fixer
white or light coloured cotton cloth or clothing items - natural fibres work best, mixed fibres will result in a paler result.
Elastic bands or string.
Beads/ pebbles etc.
Rubber gloves

1. Pre-wash your cloth, especially if it is a new item and dry.
2. Prepare the dye according to the packet instructions. I used cold water dye but you can use this technique with machine dye or the type that you boil on the hob. Wear gloves when dealing with dye.
3. Tie up the fabric -here's where you can experiment. tie the fabric around beads or pebbles to create small circles; concertina fold the fabric and tie in bands to create a stripy effect; pinch the fabric in the centre and tie bands along it to create concentric circles or just scrunch it all up and tie string or bands around the bundle for a more random effect. You do need to make sure that the bands or string are really tight as this forms the resist. if they are loose the dye will seep under them and the effect will not be as striking.
4. Wet the fabric.
5. Place in the dye and stir occasionally. leave in for at least the recommended time.


6. Take out and rinse in cold water until the water runs clear. Remove the string/ bands and rinse again. The design should be evident.
7. Leave to dry.


Space dye method:


You will need:
Salt/ dye fixer
Dye: You can use the same sort of dye but will need several colours. I used Procion MX dyes and a dye fix.
Rubber gloves
White or light coloured cotton clothing
String/ rubber bands
Beads/ pebbles
Clean jam jars or small bottles with nozzles (clean hair dye bottles work well here).
Pipettes/ droppers/ syringe
Plastic bag

1. After pre-washing your fabric tie the fabric as for the traditional method.
2. Make up a fix bath. I used the fixer that came with my dye. If using Dylon you can use a salt solution.
3. Soak the pre tied fabric in the fix solution until thoroughly soaked.
4. Make up concentrated dye. Mix the dye powder in a small amount of hot water so that all the power is dissolved. Store in jars or small bottles - this will keep for a few days and can be used again.


5. Place the soaked fabric on a protective surface, plastic bags are perfect. Wear gloves as this gets messy. Use droppers or nozzles to drop small amounts of different coloured dye onto the fabric. Colour mixing rules apply here - so if you put red next to yellow you will get orange etc.


Make sure all the fabric is covered by dye and then place the item in the plastic bag so it doesn't dry out and leave so the dye can develop fully. At least 4 hours or overnight if possible.


6. Take out and rinse in cold water until the water runs clear. Remove the string/ bands and rinse again. The design should be evident.
7. Leave to dry.


LinkWithin

Related Posts Plugin for WordPress, Blogger...